In this post you will learn how to bake a texture in blender.
Baked textures speed up rendering time. They also allow you to export the textures from Blender to other Software including game engines like Unity or Unreal Engine, which is necessary if you are making a game or selling 3D models.
Time needed: 10 minutes
How bake texture maps in Blender:
- UV Unwrap Object
UV unwrapping the object tells Blender where to put the texture. As a result if your model is not unwrapped it can completely scramble the textures.
Press TAB to enter edit mode, press A to select all, then press U and select Smart UV Project, for low resolution textures, turn up the island margin.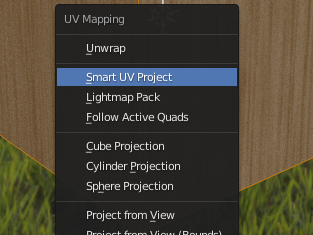
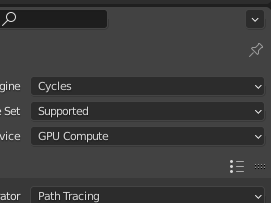
- Set Render Engine to Cycles
To bake procedural textures you must use the cycles render engine, don’t worry, you can change back to Eevee later.
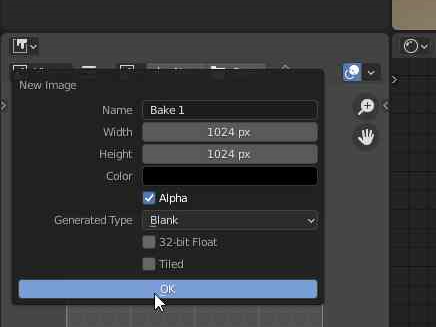
- Create a new image
Go to the image editor and add a new blank image and set it to the resolution you would like for your texture.
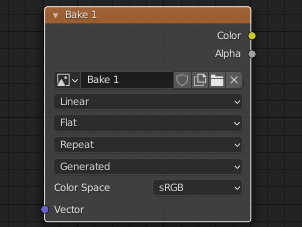
- Add an image texture to the procedural material
Link it to the blank image you created, keep it selected also don’t connect it to any other nodes yet.
- Bake the image
Go to the Bake settings, select Diffuse for your bake type and make sure Color is the only Contribution that is enabled.
Then Press bake to start the baking process.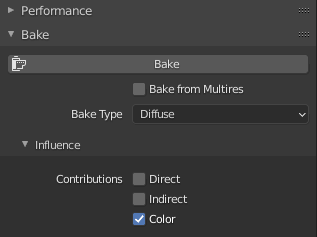
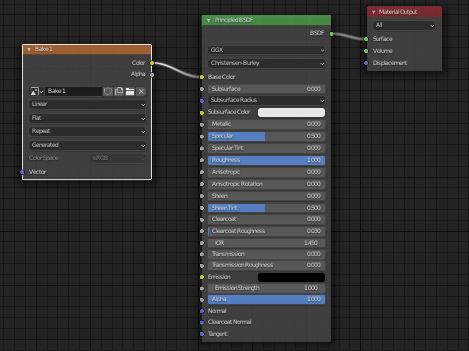
- Connect the Baked Image to your Shader
Finally, Connect the image to where the Procedural Texture used to and you are good to go!
- Export the Image
Press ALT+S to export the image as a .png so you can us it with other applications, not just blender.
Want to make great procedural textures? Ducky3D has some great Procedural Texture content.